Last weekend, I suddenly realized I hadn’t done any decorating in my new place, which isn’t so new considering I’ve been there 6 months. 😮 So, with a sudden tunnel vision, I set about making some strides toward turning my house into a home!
First order of business: Change my comforter set. I was completely sick of my old ones, and felt I had out grown the one I was currently using (considering I’ve had it since college). Plus, it left my completely uninspired…which was reflected on my bare walls. My best friend told me I needed an “inspiration piece” to guide me towards colors/patterns/themes. I used this gorgeous scroll the Boy brought me home from China, which used black, white and pink.
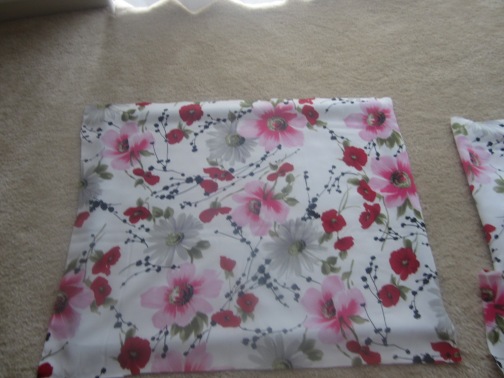
I went to a bunch of department stores, picking up odds and ends for both my bedroom and living room areas. I first bought an awesome bedding set, all black and white with a cool design, and I added pink sheets for a pop of color. Next, I needed something to put above my bed, behind the headboard. Thanks to Pinterest, I got the idea to use a fabric I really liked, and just frame it. SO out of my normal realm of creativity! Off to Jo-Ann Fabrics for a pattern, and Michael’s for a frame, and suddenly I found myself DIY-ing my decor.
Step by Step!
1. The Fabric
2. The Frame.
I got one of those floating picture ones, only because it was the right size (though in retrospect I could have gone bigger), and had a minimal frame that would accent but not detract from the pattern.
3. Lay out the fabric around the glass insert, and cut to size
4. Position fabric on glass
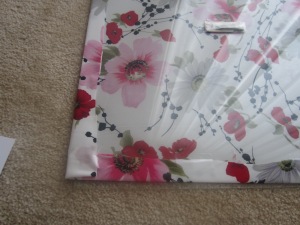
Because this is a floating frame, there were two pieces of glass. I laid down one piece, placed the fabric on top, then placed the second piece of glass on top of the fabric. I then pulled the fabric tight and smooth before the next step…
5. Mount fabric
i.e. for me: Tape it in place…very professional 😉
6. Iron out any wrinkles.
Set the iron to a low heat (I was worried about melting the glass), and gently iron out any remaining kinks.
7. Place fabric glass in frame and secure
8. Install hanging pieces
Thank you eye glasses screwdriver 🙂
9. Hang on wall
To determine center, I measured the length of my headboard (x), and the length of the frame (y). Then, I subtracted y from x, which gave me the leftover space, and divided by two, to see how far away from the end of the headboard the frame should be on each side.
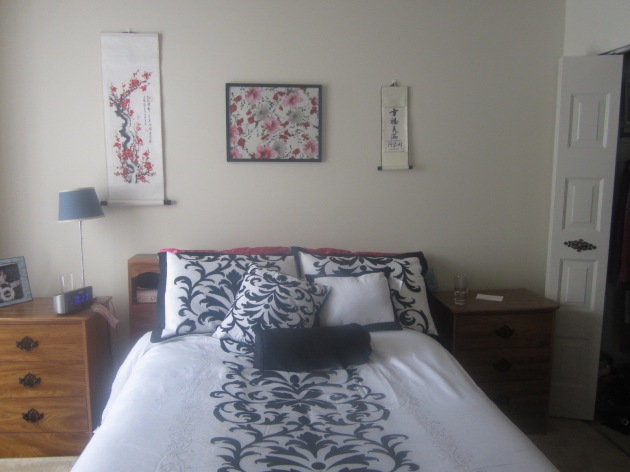
10. All together! With my new comforter set
Gotta say, I’m pretty proud of myself! I’m not sure how I feel about the asymmetry, but my mom has always said not everything in life has to be symmetrical…which doesn’t really jive with my super Type A personality, but we’ll see how it goes. I’m going to need a new lamp shade, as you can see that one matched my old set. Plus, a pink accent pillow, and some accent decorations. All in all, I’m pretty happy with it!


